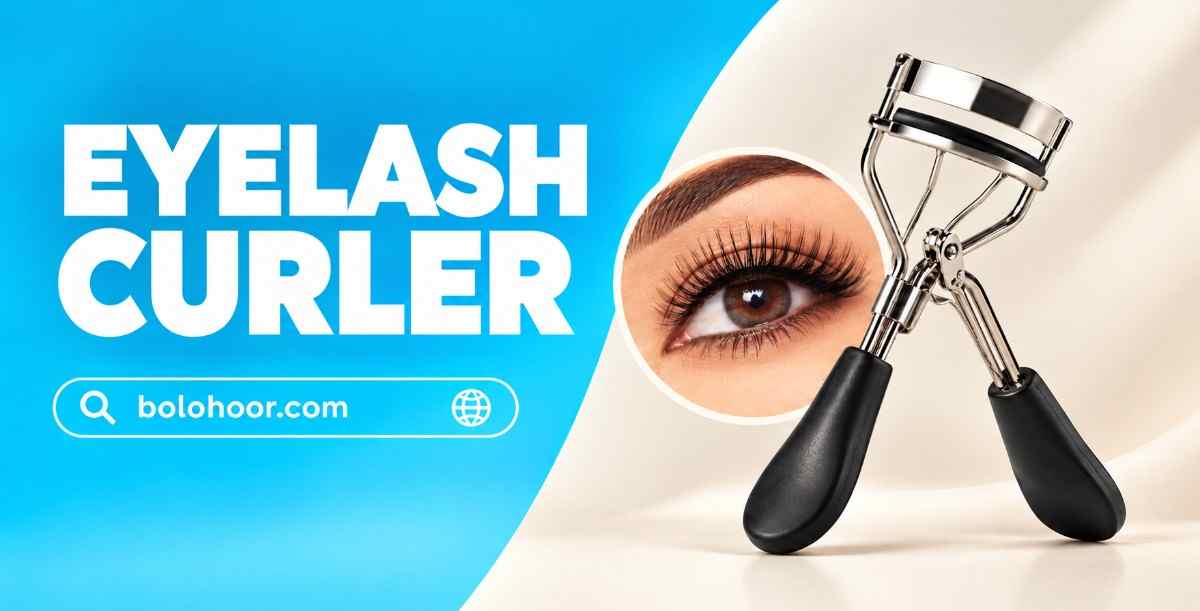
When I first saw the eyelash curler, I thought it was a scary little tool. I did not find it easy at all to press the lashes by keeping the metal tool very close to my eyes. I could not understand where exactly to put it and how much pressure to apply.
But when I learned to do it properly, I understood that the basic purpose of the eyelash curler is simple. To curl and lift the natural lashes, it now comes before mascara in my routine.
If you are going to use a lash curler for the first time, then in my experience the most important thing is technique and positioning. I am sharing my simple method which seems easy in my routine.
What Is an Eyelash Curler?
An eyelash curler is a small makeup tool that gently presses natural eyelashes to curl them. It usually has a curled frame with handles and a soft rubber or silicone pad.
The curved part of the curler is positioned around the lashes while the pad acts as a cushion to press the lashes. Different curlers may have slightly different shapes and curves.
I do not consider the lash curler an extra step for makeup; it is easier to take it as a simple lash prep tool.
How to use it?
1. Keep Lashes Clean & Dry
I use the lash curler before the mascara. My preference is clean and dry lashes because there is no mascara or other makeup product on the lashes at this stage.
If you are doing eye makeup then you can curl the lashes before completing your normal eye makeup routine. My routine has a simple order.
2. Position The Curler By Looking In The Mirror
Looking in the mirror, open the curler slowly and take it near the upper lashes. There is no need to rush the steps.
I first check that it is in a comfortable position near the lash line and that the eyelid skin is not coming in between. If the position seems awkward, I release it and set it again.
3. Press Gently
The curler doesn’t need to be forcefully squeezed. I press with light pressure for a few seconds and then release.
If I want a little more definition, I go a little above the lash line and press again gently. I find gradual pressing more comfortable than applying very hard pressure on one spot.
4. Do Not Pull a Closed Curler
This is most important to me.
If the curler is closed, then it should not be removed by pulling directly; first release the clamp slowly and then remove it from the lashes.
Eyelash Curler Before or After Mascara
The answer is simple in my routine: before mascara.
I find it better to use an eyelash curler on clean lashes.
My Simple Routine:
Clean Lashes — Eyelash Curler — Mascara
Because of this order I find my routine simpler.
What to look for while choosing an eyelash curler?
Every eyelash curler shape does not give the same results. For me, the curler curve being comfortable is most important.
If the curler catches the center of the lashes, misses the corners or has an uncomfortable feel near the eyelids, it may be that the shape is not suitable for my eyes.
I check these things while buying a curler.
- Soft & properly fitted rubber & silicone pads
- Smooth hinge
- Comfortable handles
- Even closing
- Suitable curve with eye shape
- Replacement pads available
If normal lash curlers do not easily reach the lashes, smaller or practically curved curlers may also be considered.
How to clean an eyelash curler?
The eyelash curler is very close to the eye area, so I don’t store it with makeup residue.
After use, I softly wipe the pads. If you see mascara or makeup residue, it is better to remove it. After cleaning, dry and store the tool properly.
I do not soak the curler in water unnecessarily, especially the hinge area; wiping and proper drying is enough for my routine.
My Eyelash Curler Routine
My routine is so simple.
First of all I check that my lashes are clean and dry, then after looking in the mirror, I carefully position the curler near the lash line. I press with light pressure for a few seconds and then release.
If I want a stronger curl, I slightly adjust the position and gently press again. I don’t increase the pressure unnecessarily.
I apply mascara after that. This sequence is easy for me and I do not need to make my routine more complicated.
Common Eyelash Curler Mistakes
Curling After Applying Mascara: Now I always use the curler before mascara.
Very Hard Pressure: Doing a strong squeeze is not my preference, it is better to start with light pressure.
Keeping the Curler in the Wrong Position: If the tool is uncomfortable, I adjust the position instead of applying pressure.
Pressing One Spot Repeatedly: I prefer gentle pressing on different sections.
Using Worn Out Pads: If the pad gets damaged and becomes hard then it is better to replace it.
Pulling a Closed Curler: First release the curler then remove from lashes.
FAQs
Can an eyelash curler be used before mascara?
Yes, in my routine, the eyelash curler always comes before mascara. I find it easier to do it on clean and dry lashes.
How long should you press your eyelashes?
I do a gentle press for a few seconds. For me, light pressure and comfortable positioning are more important than exact timing.
Does the eyelash curler damage the lashes?
I avoid hard pressure and pushing, use the curler carefully, and check its condition as a part of my routine.
When should the pad of the eyelash curler be changed?
Consider replacement when the pad is flat, cracked, hard or loose.
Can a lash curler be used for hooded eyes?
Yes, if the regular curler reaches the corners easily, then smaller, flatter and more practical ones can be tried.
Is a heated eyelash curler better?
It depends on personal preference. If you are a beginner, then starting with a simple manual eyelash curler is the easier option in my opinion.
Final Thoughts
For me, it is one of those beauty tools that may seem unnecessary or a little scary at first glance, but once you understand the technique, it becomes a simple part of routine.
I apply it before mascara on clean and dry lashes, hold the pressure light, check the position carefully and also check the condition of the pad.
If you are using an eyelash curler for the first time then first focus on comfort and positioning. To make the curl stronger, try adjusting your technique and position of the curler instead of using pressure.
Want to learn more about Skin Tint? Read our guide on Skin Tint: Light Coverage, Fresh Finish
This article is for general informational purposes only and is not medical advice, diagnosis, or treatment. Bolo Hoor is not a medical institution. If you have a skin, hair, or eye concern, consult a qualified dermatologist or healthcare professional.